
September 9, 2026
Animated Countdown Clock for PowerPoint How to Build It
Learn how to add an animated countdown clock for PowerPoint with native animations, GIFs, videos and add-ins, plus timing and troubleshooting tips.
You’re halfway through a workshop, the discussion is running long, and someone asks how much time remains. You glance at your phone, lose your place, and realize the next slide is already behind schedule. An animated countdown clock for PowerPoint can keep the room moving without making you act as the timekeeper.
The difficult part isn’t drawing a bar or placing a number on a slide. It’s choosing a timer that starts reliably, remains usable in Slide Show and Presenter View, works without internet access, and behaves predictably on the version of PowerPoint you’ll use live. The right setup depends on whether the audience needs to see the time, whether you need interactive controls, and how much manual testing you can afford.
Table of Contents
- Why an Animated Countdown Clock Makes Presentations Run Smoother
- Choosing the Right Method for Your Countdown Clock
- Build a Native Animated Countdown With PowerPoint Animations
- Insert a GIF Video or Add-in Timer Without Building Animations
- Customize Timing Accuracy Style and Accessibility for Any Audience
- Troubleshooting Tips and Final Checklist Before You Present
Why an Animated Countdown Clock Makes Presentations Run Smoother
A workshop group is halfway through an exercise when the facilitator checks the laptop clock and discovers the activity has already run over. A visible animated countdown clock for PowerPoint can prevent that interruption by showing the remaining time without forcing the speaker to stop and calculate it.
The benefit is practical: the presenter keeps attention on the room, while participants can pace questions, exercises, and discussion themselves. The timer must also survive the conditions of the actual presentation. Test it in Slide Show and Presenter View, confirm the deck works offline, and check playback on the Windows, Mac, or web version that will run the session. An animation that looks correct in edit mode is not automatically reliable live.
Visible for the room or private for the speaker
Audience-facing timers suit activities with a defined working window. A progress bar along the bottom of a breakout slide keeps the deadline visible without competing with the instructions. A large full-screen countdown creates stronger urgency, but may make participants anxious or pull attention away from the material.
Speaker-only timing usually fits a polished keynote, a sensitive client conversation, or any talk where a visible clock would make delivery feel rushed. Rehearsal still needs a complete timing check. A SlideShare deck on presentation timing illustrates how slide count, speaking pace, transitions, and Q&A can change the total duration (Microsoft-related presentation timing guidance). Treat that material as a planning reference, then decide whether the audience needs its own visual cue.
Practical rule: Show the timer when the audience has a task. Keep it private when the speaker needs pacing support.
Timing cues matter most when the session depends on a deliberate rhythm, particularly during its opening activity. That does not require placing a clock on every opening slide. Use a quiet cue for the presenter when the audience should stay focused, and a clear on-slide timer when participants must decide how quickly to work. Before presenting, restart the timer several times and verify that its first frame, duration, and final state remain consistent.
Choosing the Right Method for Your Countdown Clock
There are four practical routes, and each solves a different problem. Native animations provide the most control inside the deck. Media files reduce manual sequencing. Add-ins offer presentation-mode controls. VBA can create a more programmable clock, but it introduces a different class of compatibility and security concerns.
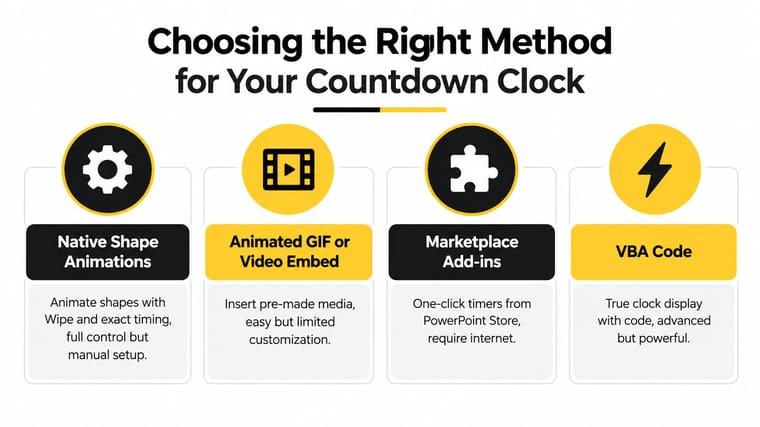
| Method | Best For | Pros | Watch Out For |
|---|---|---|---|
| Native shape animations | Offline decks, short activity timers, reusable slide designs | No external file or installation, precise visual control | Manual setup can become fragile when many objects are chained |
| Animated GIF or video embed | A quick visual timer with consistent playback | Simple to insert and easy to brand before import | Playback, looping, and file availability need live testing |
| Marketplace add-ins | Interactive timers that need start, pause, reset, or stopwatch controls | Fast setup and presentation-mode features | Version, platform, internet, and Presenter View behavior can vary |
| VBA code | Advanced automation and custom actions | Powerful logic and a true clock-style display | Macros may be blocked, and the file needs careful technical testing |
For a classroom activity that must work offline, a native progress bar is usually the safest starting point. For a client deck where animation polish matters more than editing flexibility, an embedded video can be easier to control. An add-in is attractive when you need to restart a timer during a live session, but don’t assume that an add-in installed on one computer will behave identically on another.
Marketplace listings show this split clearly. Microsoft’s own on-screen timer workflow relies on manually animated text boxes, while timer add-ins emphasize embedded playback and one-click operation (Microsoft AppSource timer listing). If you’re evaluating timers as behavior cues rather than decoration, the broader discussion of urgency psychology in e-commerce is useful context. A countdown can focus action, but unnecessary urgency can also distract from the message.
Build a Native Animated Countdown With PowerPoint Animations
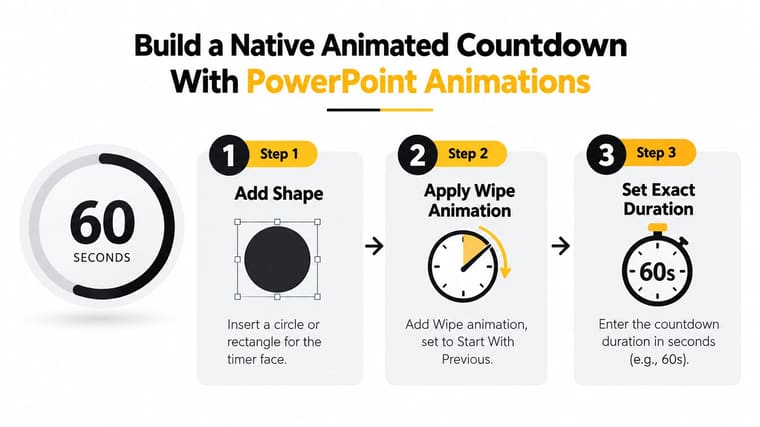
A native timer is a shape overlay controlled by PowerPoint’s animation timeline. It’s a strong choice when you need an offline file and want the timer’s color, position, and dimensions to match the deck.
Create the progress bar
- Draw the base. Insert a rectangle or another simple shape and place it along the bottom or top edge of the slide. Use a contrasting fill and remove the outline if it makes the bar look heavy.
- Add the animation. Select the shape, open the Animations tab, choose Add Animation, and apply a Wipe effect. Choose the direction that matches the visual logic of your timer. A bar that shrinks from right to left communicates time remaining more naturally than one that grows without explanation.
- Set the timing. In the Timing group, enter the exact countdown length in the Duration field. Set Start: With Previous when the timer should begin as soon as the slide’s preceding action or object starts.
- Use delays for sequences. If several objects need to run in order, use Delay and Start: After Previous to control the handoff. Don’t try to create the countdown by repeatedly clicking through animations during delivery.
Microsoft documents this native approach as a shape animation with a duration set in seconds and a Wipe-style effect started with the previous animation (Microsoft’s on-screen timer instructions). The same guidance distinguishes animation timing from slide transition timing. Duration and Delay control an object, while After controls automatic slide advancement. Mixing those settings is a common cause of a timer that finishes before the slide changes, or a slide that advances while the bar is still moving.
Add numbers only when they help
A numeric countdown needs separate text boxes or shapes. Stack the numbers in the same position, give each an appear and disappear animation, and chain them with delays. This works for a short “ready, set, go” cue, but it becomes difficult to maintain when the timer needs many intervals.
For longer activities, use the bar as the main signal and add a static label such as “time remaining.” A circular face or ring can work too, but it often requires more objects and more careful alignment than a simple rectangle.
PowerPoint’s animation model has supported timeline-based sequencing since the product’s PowerPoint 2002/2003 era, when each slide used a single Timeline for animation order (PowerPoint animation timeline background). That historical structure still matters in practice. A countdown is a chain of timed objects, so the Animation Pane is your control center.
Watch the build process in context:
For a visual alternative to a native PowerPoint timer, see this guide to a countdown clock graphic. Whatever design you choose, run the slide in Slide Show mode, not just in the editing window. Start it repeatedly, observe the first animation, and check that the final state appears when the duration ends. Short timers are presentation-specific, so rehearsal is part of the build, not an optional final polish.
Insert a GIF Video or Add-in Timer Without Building Animations
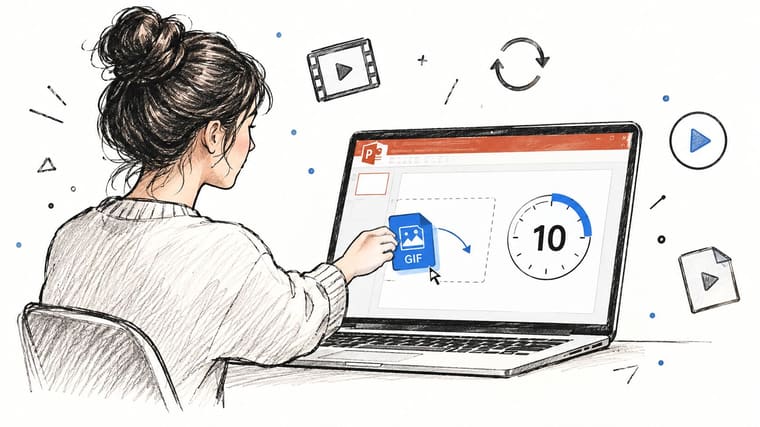
Media is often the fastest way to get a consistent visual on a slide. Insert a prepared GIF or MP4, resize it as an overlay, and place it where it won’t cover essential content. A video is usually easier to manage than a long chain of individual text animations because the motion is already rendered.
Use an embedded file for offline playback
Insert the media from your device rather than relying on an online video if the room’s internet connection is uncertain. In PowerPoint, select the media, open Playback, and set it to start automatically if the timer should begin with the slide. Check whether the file loops, stops at zero, or restarts when the slide is revisited.
A 5-minute breakout timer can work well as a large, quiet visual on an activity slide. A 60-second pitch clock may be better as a small overlay that doesn’t compete with the speaker’s key message. These examples describe use cases, not guaranteed playback lengths or performance results. The practical decision is whether the audience needs a persistent visual or a single transition cue.
Video playback can also expose problems that native animations avoid. A file may be missing from the presentation folder, use a codec unavailable on the presenting computer, or begin only after a click. Test the actual presentation file on the actual machine, with the same display and audio conditions you’ll use live. If you’re preparing media assets or learning visual workflows, you can also explore AIMVG tutorial topics.
Add an interactive timer when controls matter
A marketplace add-in makes more sense when you need to pause, restart, or switch between countdown and stopwatch behavior during delivery. Open PowerPoint’s add-in area, install the selected timer, place it on the slide, and configure its display before entering Slide Show mode.
The convenience comes with trade-offs. An add-in may need internet access during installation, may be restricted by an organization’s policies, or may render differently in Presenter View. Web PowerPoint can also handle embedded tools differently from the desktop application. Don’t judge reliability from edit mode alone.
For a quick comparison of presentation timing patterns, see this guide to a timer for presentation. Then make a local backup. If the add-in fails, you should still have a static instruction slide, a separate device timer, or a native bar that lets the session continue.
Customize Timing Accuracy Style and Accessibility for Any Audience
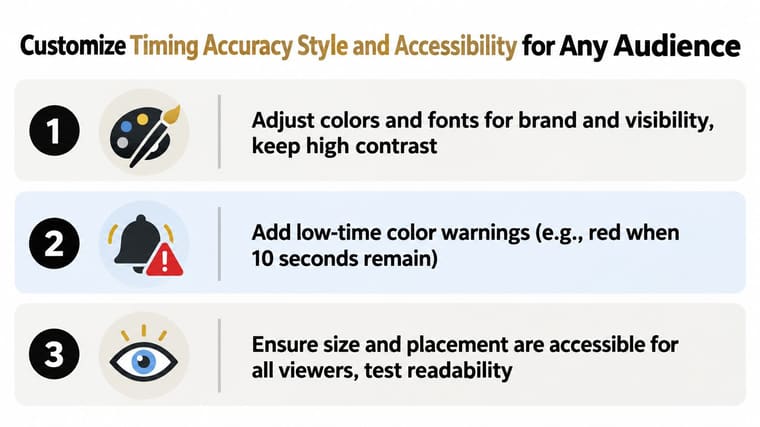
A timer earns its space when it helps people act without pulling attention from the slide. Place a narrow bar along an edge when the audience needs a quiet reminder. Use a large central clock only when the remaining time is the main message. Keep the timer inside the slide’s safe area so it remains visible on the audience display and in Presenter View.
Color can show urgency, but it should not carry the meaning alone. Pair a low-time color with a label, a visible number, or a clear shape change. Use large text, strong contrast, and steady motion. Rapid flashing can distract viewers and create accessibility problems.
Match visibility to audience psychology
A classroom often benefits from a public timer because students must coordinate their work. A workshop group may work better with a quiet bar that leaves room to finish without feeling watched. In a talk or sensitive sales conversation, a speaker-only cue can protect eye contact and reduce pressure to rush.
Label the display as Time remaining or Ends in. That wording prevents viewers from reading the number as elapsed time. Preset durations and warning colors can help when the audience shares a clear time limit, but test the visual with someone who did not build the deck. Ask what they noticed first and whether they understood the timer without explanation.
Rehearse the timing chain
Run the timer in Slide Show mode and compare it with a separate clock. Check the trigger, first visible state, transitions between objects, and final zero state. Include slide transitions, pauses, and questions in the plan. Animation duration alone does not represent the full live activity.
Reliability also depends on the delivery environment. Test from the actual presentation file on Windows, Mac, or the web version you will use. Check Presenter View separately from the audience display, then repeat the test offline. Native animations usually travel well, while add-ins and linked media can depend on accounts, permissions, network access, or application differences.
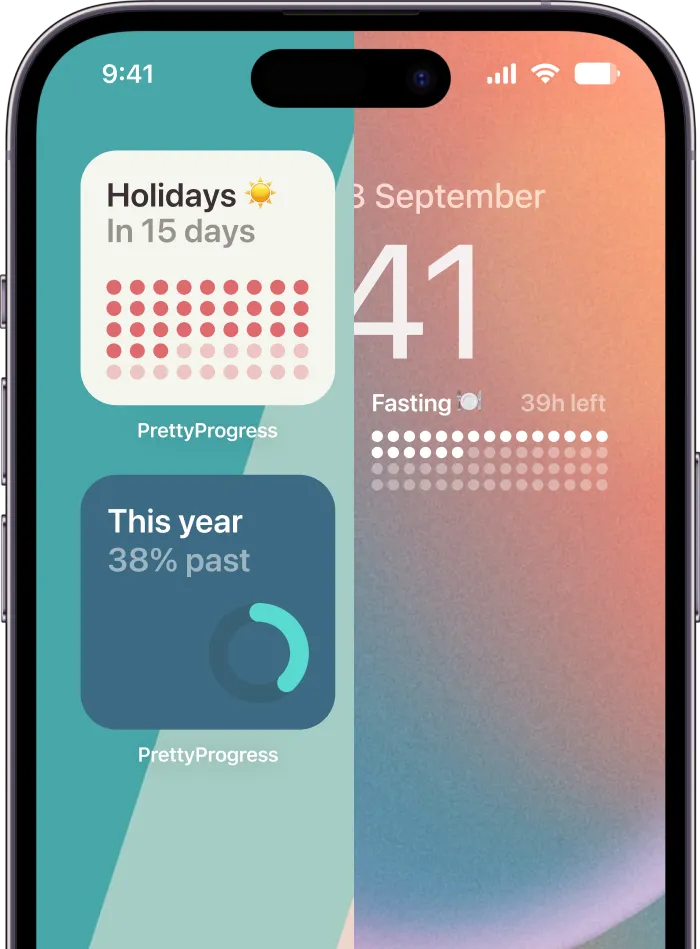
For a deck that needs pacing support without a visible clock on every slide, use this guide to time PowerPoint slides. Pretty Progress also provides customizable countdown and progress widgets for iPhone, iPad, Apple Watch, Mac, and Android. Keep a static instruction slide or separate timing device available if the animated timer fails.
Troubleshooting Tips and Final Checklist Before You Present
The most common mistake is assuming that a timer is reliable because it played once in edit mode. Live playback adds Presenter View, display output, file permissions, add-in restrictions, and human interruptions. Treat the timer like any other presentation dependency.
- Animation doesn’t start: Open the Animation Pane and confirm the object uses Start: With Previous or the intended trigger.
- The bar and slide disagree: Check Duration and Delay on the object, then review slide transition After settings separately.
- The GIF or video stops: Confirm the file is embedded or available offline, then check playback and looping settings.
- The add-in disappears: Test the same PowerPoint edition and account environment you’ll use in the room. Keep a non-add-in fallback.
- The timer feels inaccurate: Rehearse the complete sequence in Slide Show mode and adjust the animation chain after observing it, especially for longer or interruption-prone sessions.
Before presenting, run this short pre-flight:
- Start the deck from the beginning and from the timer slide.
- Test the audience display and Presenter View separately.
- Disconnect from the internet and confirm required media still plays.
- Verify the timer’s position at the presentation’s actual resolution.
- Keep a static backup slide or separate timing device available.
A dependable timer is simple, visible when needed, and easy to restart. Rehearse once with the timer running, then adjust the duration, placement, or warning treatment based on what you see.
If you want a timing cue outside PowerPoint, Pretty Progress offers customizable countdown and progress widgets for iPhone, iPad, Apple Watch, Mac, and Android. Set up a countdown or timer on a device you can glance at during rehearsal or delivery, and use it as a practical backup when a slide animation or add-in isn’t dependable.